If you enjoyed this tutorial and would like to be kept up to date with the whole series (happening across our whole team of blogs!) then simply click on the picture below to take you to our sign up page.
You will automatically receive sneak peeks of our upcoming tutorials and a FREE PDF EBook including all of our step by step tutorials. Just click on the pic below to get your goodies!

Hello there lovelies! I hope you are well, wherever in the world you are joining us from and WELCOME TO OUR BIG 20/20 EVENT!
I am so looking forward to sharing with you a whole series of 20 tutorials from a whole team of talented creatives, including myself.
As the organizer of the event, I thought it only fair that I kick things off with my own tutorial. It is a recipe I based on one in the above spell book and was something that was completely new to me. Let's make some Honeyed Mead together. The perfect drink to accompany Game Of Thrones :) Here's the how-to:

You will need: honey, boiled water, tin foil or cling film, cinnamon, mixed spice, yeast, bottles to put your mead in when it's finished.
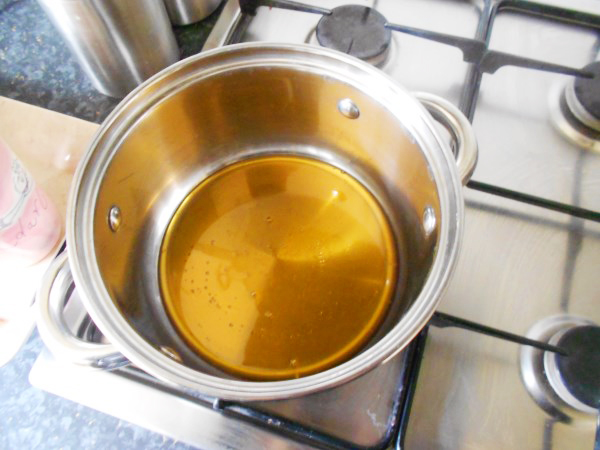
1. Squeeze out a good helping of honey, covering the bottom of a good sized pan.

Here's how much honey I used - that was a full 375g bottle!
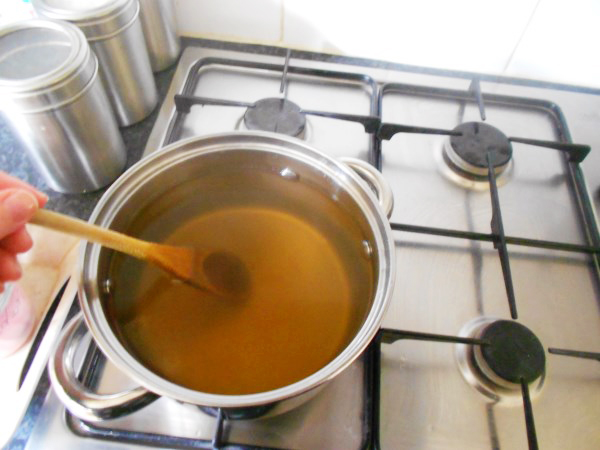
2. Fill up the pan with your boiled water and give it a good stir so the honey isn't all caught up at the bottom of the pan.

3. Heat and stir frequently. It needs to be heated for about 5 minutes in total.
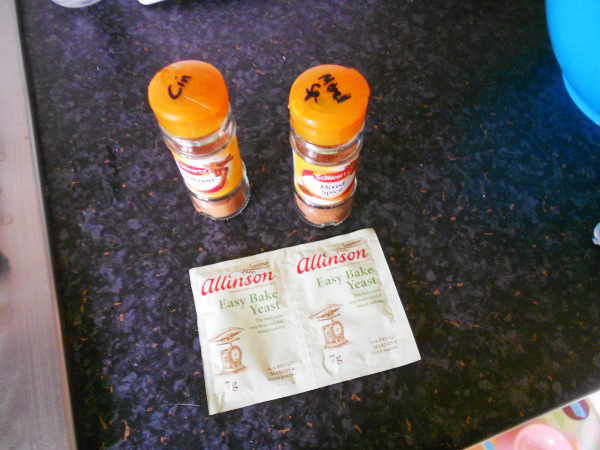
4. Get your easy bake yeast ready alongside your spices.

5. Add a good sprinkle of cinnamon and all spice and stir well.

6. Add in a packet of yeast and stir well.


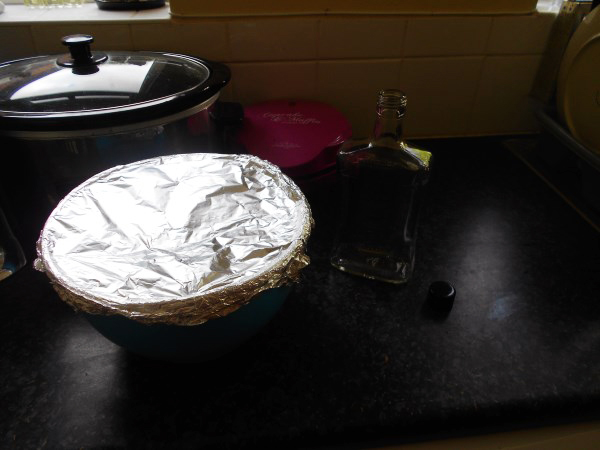
7. Cover with foil/cling film and place in a cool dark place for 7 days, allowing it to brew.

I gave mine a quick check after the 7 days were up. You don't have to!

8. Place in the fridge for a further 3 days and allow the sediment to settle at the bottom.
9. Remove from the fridge.

10. Strain out the liquid through a sieve into a pouring jug.

11. Pour into your empty bottle. (NB Make sure it is cleaned well in hot soapy water)

We poured out a little sample at this point, just to see what it was like. It was a sweet drink, which tasted a lot like those posh elderflower cordials you sometimes buy at county fairs and markets. Yum! My husband loved it!

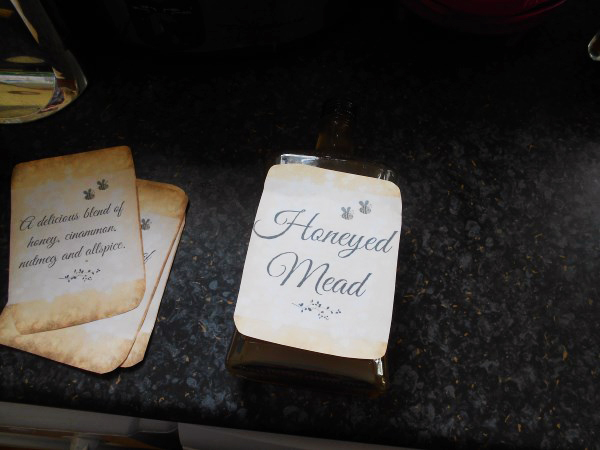
12. Next, I labeled the bottles (you can do this beforehand if you'd like). I cut the labels to size after I printed them.

13. Then used a good coat of mod podge to seal them onto the glass.

I made labels for the back and the front of my bottles. If you'd like to use my labels, you can download them to print here.


14. Smooth out your labels.
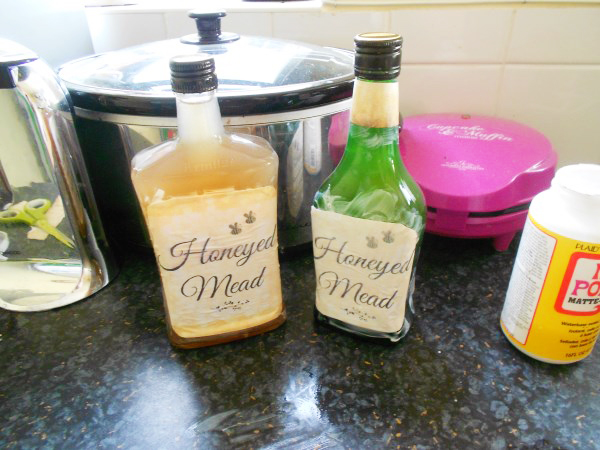
15. Leave the glue to dry.

Ta-da! Your mead is packaged and ready. We did have a taste immediately, but we then bottled up our mead and have put it away for the recommended fermenting time (anywhere between 3 and 7 months). We're wondering if it will be more potent by then?!

Sarah Leonard is a curious soul, who lives a magical creative life with her kitties and her husband. She runs an Etsy store full to the brim with artistic curiosities, and writes regularly on her blog A Cat-Like Curiosity. She is also the founder of The Curiously Gorgeous Sisterhood, a gorgeous community full of light, life and inspiration.


1 comment:
Looks like a good thing to do.
come join the blog challenge for March http://hotpinkowl02.blogspot.com/2014/02/blog-challenge.html
Post a Comment